
It’s that time of year again, when we realize that if we’re going to do holiday cards, we should get started. You can take the easy way out and buy a few packs of generic reindeer cards at the drugstore, but with a little work in Apple’s Photos app on the Mac, you can instead send cards personalized with your favorite family photos from the past year. Here’s how.
- Select photos. Although you can add photos to your card project at any time, it’s easiest to make a new album and then spin through last year’s photos, adding 20 or so of the best candidates to your album. Don’t be picky at this point because it’s easier to choose the final images from within the card layout.
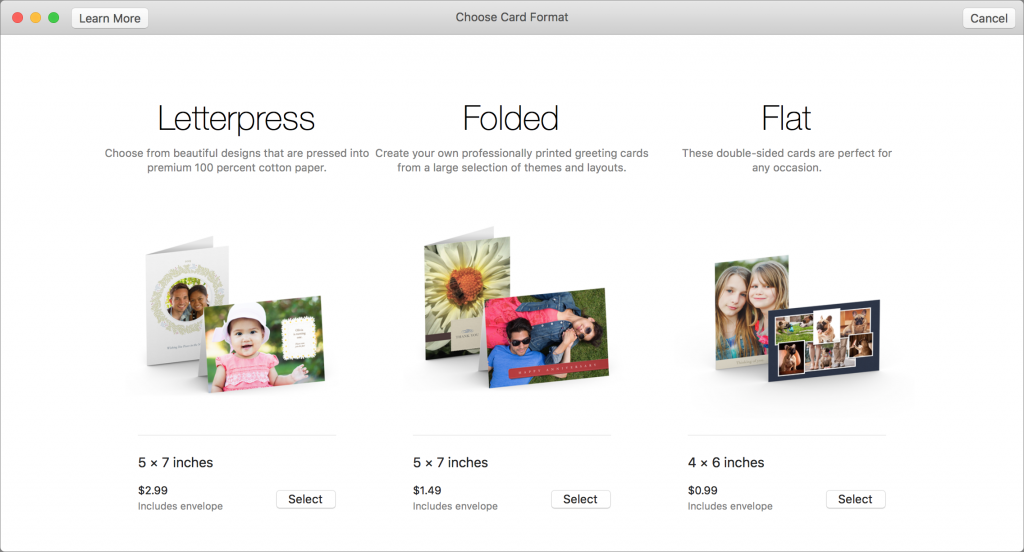
- Create the card. Select all the photos in your new album with Edit > Select All, and choose File > Create > Card. Then select one of the three choices: a 5×7 folded letterpress card for $2.99 each, a 5×7 folded card for $1.49 each, or a 4×6 flat double-sided card for $0.99 each. They all include envelopes.
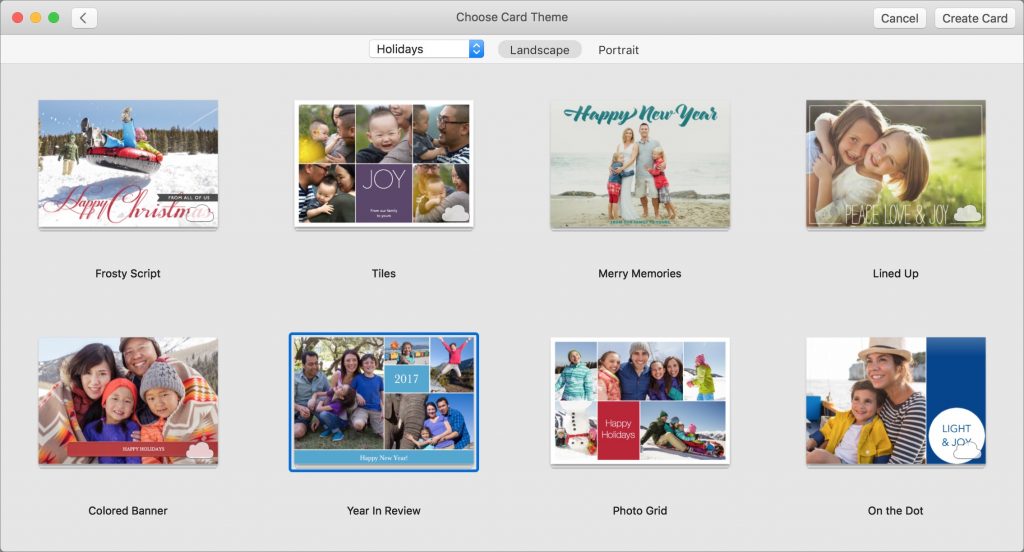
- Select a theme. Photos loads themes over the Internet automatically, so if you see just a few themes, wait until more appear. Choose Holidays from the pop-up menu at the top, and click either Landscape or Portrait to pick the orientation before selecting a theme and clicking Create Card in the upper-right corner.
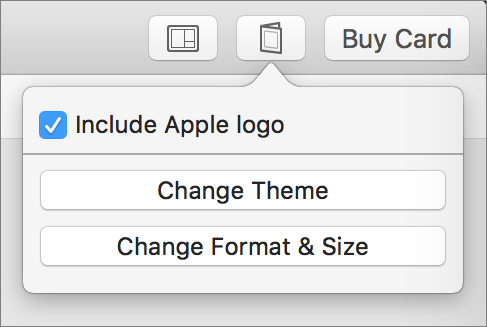
It’s easy to change your choices while working on the card by clicking the button next to Buy Card.
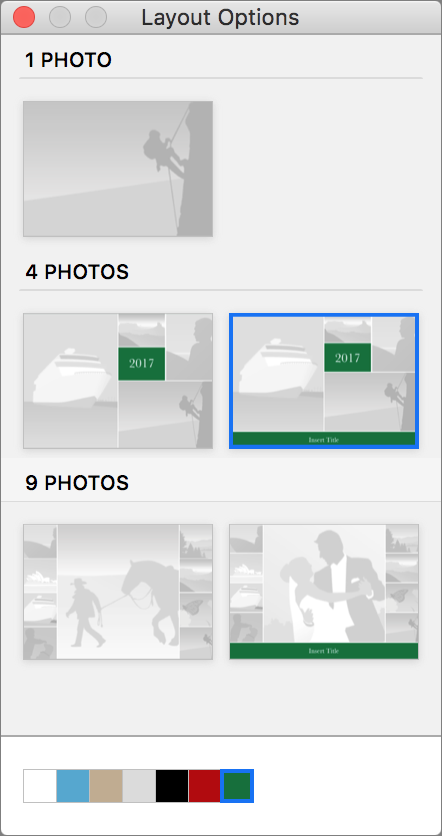
- Choose layouts. Although every card starts with a default layout, most have alternatives. Would you prefer a single image on the front, rather than a four-photo layout? Click the Options button below the card to open the Layout Options panel, and click the desired layout.
- Add photos. To add a photo to a spot on the card, drag it from the photo collection at the bottom of the screen, which shows the contents of your album. Dragging a photo on top of an already-placed image replaces it, or you can drag a photo from the card back to the collection at the bottom. Buttons let you clear placed photos (helpful when starting over with a new theme), auto-fill photos for quick placement, switch between showing unused and placed photos, and add more photos to the project.
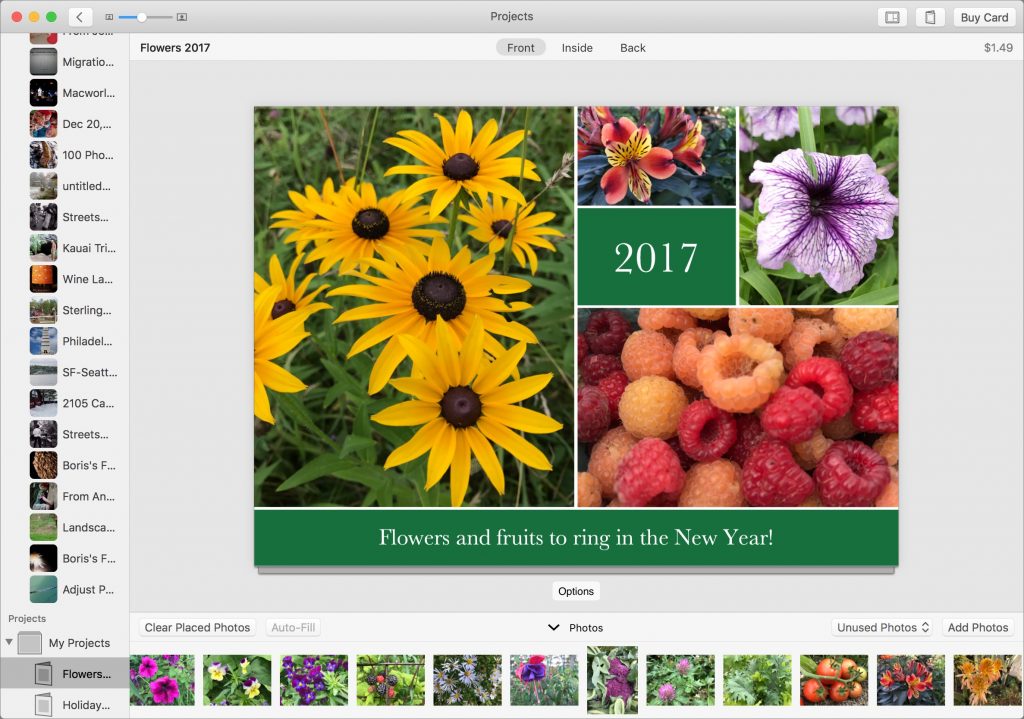
If Photos didn’t bring in all the photos from your album automatically, click the album in the sidebar, select all the photos, and drag them to the project entry in the sidebar. That’s much easier than adding them piecemeal via the Add Photos button. - Edit photos. When you click a photo on the card, the Photo Options panel appears so you can apply filters, edit the photo with all of Photos’ editing tools, or zoom and crop. After zooming a photo with the slider, you can drag it within its spot on the card to position the subject properly.

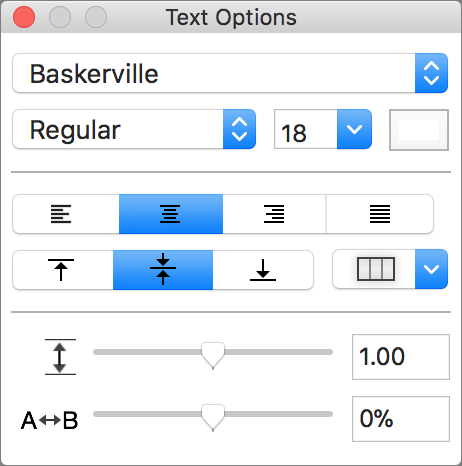
- Add and edit text. Some text boxes in the layout can be edited; just click inside and type. Others can’t be changed. If you need to tweak the font, size, color, or orientation of text, select it and make your adjustments in the Text Options panel that appears.
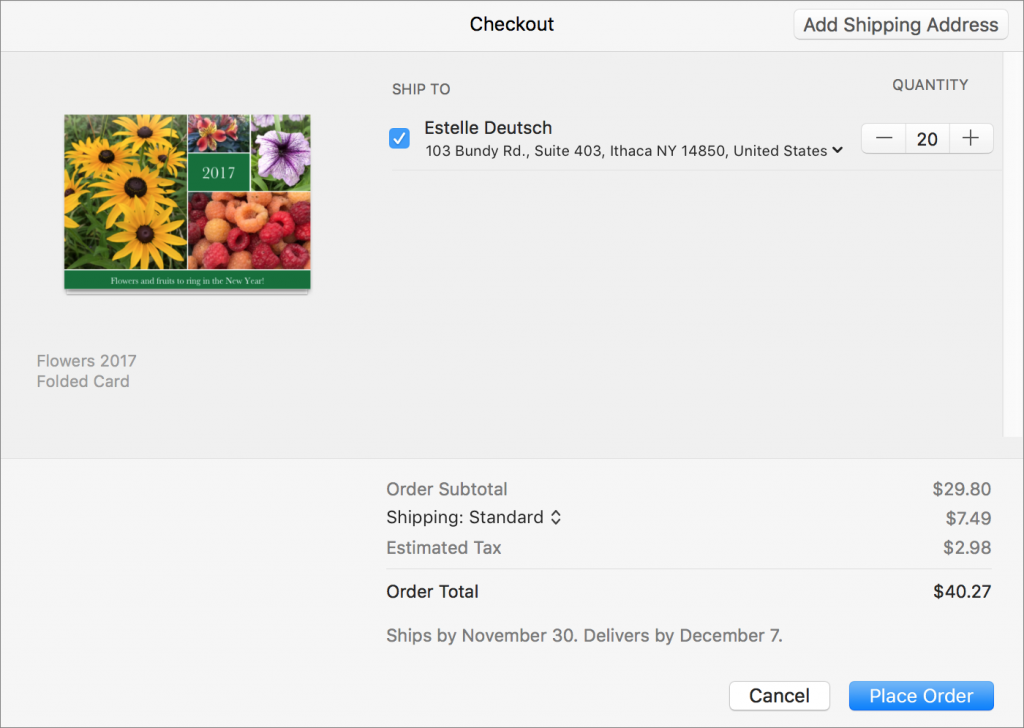
- Buy your card. Once you’ve adjusted everything to your liking, click the Buy Card button in the upper-right corner of the window. Click Add Shipping Address, select a contact (likely yourself) to send the cards to, and then enter how many cards you’d like. When you’re done, click Place Order.
Apple prints and mails you the cards, usually within a week or so. The print quality is, as you’d expect from Apple, top notch, and overall, the cards are a step up from those available from other photo services.
The hardest part of designing your own cards with Photos is figuring out which themes and layouts best match the photos you want to share. Some themes offer spots for only one or two photos, whereas others let you include a lot more, at the cost of making them much smaller. Similarly, some themes let you write a full letter, but others have room for just a few words of holiday cheer.
When you have a few minutes, sit down with a cup of eggnog and play with Photos’ card-making capabilities. Stay tuned, since we have another article about how to print labels for your cards coming soon!
Twitter: Don’t settle for tacky drugstore holiday cards—you can use Photos on your Mac to create fabulous custom cards.
Facebook: With just a few minutes of work in Photos on your Mac, you can make fabulous holiday cards—there’s no reason to settle for tacky drugstore cards this year!